One Easter Pop Up Cross Fun Fold Card with Floral Delight Designer Serie...

EASTER is coming!! This year it is on April 5th. In our family we have April birthdays and we like to see if it will fall on a nephews or a granddaughters birthday. This year it is one day off from one of our granddaughters ;)
On to card making...Last year I saw a number of different card designs being used to create Easter cards, some were pop-up cards, others were fun fold designs. I wanted to share a few with everyone. I do not have a favorite as yet...they all just really inspired me!


I love the one sheet wonder concept...The idea of using one sheet and not leaving a bunch of scrap waste is awesome. Also my granddaughter Reese would tell you if you are given a bigger card you are more loved. ;)
 
 
 A2 Card Simple Cross Fold-n-Pop-up
 
 A2 3D Pop Up Cross Card
 
I really like this Z Fold method...
This year I want to take time to make a few myself so perhaps I'll start with the instructions below.
Wishing you all a blessed and meaningful Easter filled with sweet fun too!

Valentines Fun Fold Card Making Fun

My friend MD and I spent a few fun hours creating these valentine themed swivel tower fun fold cards. Hers was inspired by a card she received in a card exchange. She decided to duplicate the method, but her annoyance elevated as she was attempting to follow what seemed a simple process. Each attempt produced what seemed to be an error. When I dropped by, we fiddled some more... It still was not quite making what we saw. When I went home, I was determined to get it resolved so we could make the card. Yea! Finally, I had the very simple measurements and method worked out. Don't laugh please...I know it is simple but sometimes it just happens!
Carol's Card


MD's Card


Join us in the fun... make one for yourself. Please share the end result!!

Measurements
Card Base: 5-1/2″ x 8-1/2″ cardstock.
Sentiment Panel: 4″ x 2-3/4″ cardstock.
Inside Layer: 5-1/4″ x 3-1/2″ cardstock.
Outside DSP Panels: One 5-1/4″ x 1-3/8″ (portrait) and one 3-3/4″ x 2-1/2″ (portrait). 

 Instructions

1. Score the Base: Place the 8-1/2″ side of the card base along the top of your scoring tool. Score at 4-1/4″, 5-7/8″, 6-3/8″, and 8″.   

 2. Burnish Folds: Fold and burnish all score lines. The series of small score lines near the end will create a narrow rectangular "box" or tower column when the card is assembled.

 3. Attach the Sentiment Panel: This panel is the part that "swivels." Adhere it to the 1-5/8" wide section created by the 5-7/8" and 8" score lines. Ensure it is centered so it can rotate freely when the card is opened and closed.

 4. Assemble the "Tower": Apply adhesive to the final 1/2″ tab (the section beyond the 8″ score line) and secure it to the inside of the card base to form the standing tower mechanism.

 5. Decorate: Add your (DSP) panels to the front and the swiveling sentiment panel. 

The finished card measures 4-1/4″ x 5-1/2″ and fits perfectly into a standard medium (A2) envelope. 

*DSP is Designer Series Paper

Interlocking Panel Card Ideas | 2 Ways

Yesterday my friend Diane and I set down for a bit of chatting and crafting. I showed her this interlocking panel card I had seen on youtube. We decided to CASE it...but our own version 😀. 


 We finished the base template and now we just need to finish the pretty part.  I'll update this when we've finalized our design.

Summer Has Me In Stitches

As the summer sun beckons and creativity blossoms, most folks love to head outdoors. I do love the warm sun, enjoying beach days, and gathering with friends for a picnic! But my biggest love is about exploring how to infuse my sunny days with inspiring and fulfilling creative projects in hopes of reducing my various stashes of beautiful papers, fabrics, and even saved materials I had hoped to find new uses for. 

Throughout the recent weeks, I have enjoyed beginning to whittle my fabric stacks. Yea!! My sweet friend Melanie Diane brought her serger over along with a few bags of scrap fabric and some rolls of waffle shelf liner. We had in mind a useful gripping tool for opening containers. I had seen many clever names for these handy devices...Good Grip, Robotwist, GetAGrip, Magic Twist, Rubber Husband, MightyGrip. There are some very clever and humorous people, HaHa! My favorite so far, is Rubber Husband!

MY HOW TO:

Using scraps of fabric and Dollar Store shelf liner we churned out a stack of these handy dandy tools pretty quickly. I tried it in square, rectangle, and square format eventually deciding on a 6-inch square as my favorite. 

The waffle shelf liner I mentioned was a Dollar Store purchase. You can find it at other places like Walmart, Target etc.  

Our fabric choices were varied. I had some scrap left over from my table runner project. (I still have more of that scrap so after sewing these grippers up decided to make some coasters similarly). 
Let me share with you how we made these! 
The process was simple. Cut 1 piece of fabric and 1 piece of shelf liner 6 inches square (or your preferred size.) 

If you are using a serger put your fabric right side up and your shelf liner grippy side up facing the wrong side of your fabric. I stitched my laters with the grippy shelf liner on top. It did drag a bit under the sewing foot. (A suggestion to minimize drag is to put painter's tape on the underside of your sewing foot.) Just stitch around the edge.


If you are using a standard sewing machine put the right sides of the grippy material and fabric together and sew around the edge but leave a few inches open to allow for turning the fabric. Turn fabric. Tuck the seam edge in and finger press at the opening. To finish each gripper top stitch along the edge all the way around back stitching at the beginning and end to reinforce stitches. (
The sewing machine method will be used when I make the coasters to match my table runner since the runner was top-stitched.) Sewing these grippers had me inspired and I've been a busy bee. Check-in with me to see what's next 😁!


How To Make A Gift Bag Out Of Wrapping Paper

Have you ever experienced this?I have made or shopped for the perfect gift..I prepare to gift wrap my carefully selected gift and my thoughts go to the typical question. Do I have the right size gift bag? This video dempnstrates how to make your own so there will never be that last minute frustration...Problem solved, Yeah!!!

Embrace a 2024 of Infinite Possibilities - ONE WORD


Embracing a year of POSSIBILITIES...just thinking about this topic causes my spirits to rise in expectation and my heart to race! Were your plans to bring in this new year simple or perhaps well planned with much to do and fanfare as the night passed? Do you love fanfare and celebrations, parties and lots of hoop-la, or perhaps quietly relaxing in a bubble bath or your pj's while watching the ball drop on Times Square? 

For us ringing in the New Year most years has been rather uneventful, often quiet... watching a Christmas romance or playing a game of Scrabble...this year was just that. Celebrating the new year for me is so much more a time of looking forward-it has prompted me to focus on ONE WORD. 2024's word...

INFINITE

Thinking about the word itself, INFINITE stirs so many thoughts...about personal aspirations, about business, and about my desire for spiritual growth. Most of all I am excited and cannot wait to see the fruition of Infinite Possibilities in 2024. 

I Want {to Make} a Box

Sometimes I am looking for just the right package to share those lovely items I've just created... Nothing seems just right, Arg!! I was so excited to come across a website to help me with that! Templatemaker allows  you to put in your specific dimensions to create your perfect size! Isn't that awesome!!

These look perfect for card organization.

Little milk carton shaped boxes are perfect too.Maybe yours will look like a little house instead!


I like the pull out drawer that this match box features. It could have a rope pull, notch for inserting your fingers or a pretty knob.


This is the classic lidded box called the Rhombus Box.

I love that you can select whether to print out a pdf or create an svg from the formula you have selected too. 

Let's Get Crafty, Its World Cardmaking Day


TRYING CUT SETTINGS FOR DOLLAR TREE VINYL WITH CRICUT

Working with Dollar Tree Vinyls successfully can be tricky. Early on,learning how to use the Cricut with different materials a great tip or hack was remember to test cut the material. This also applies from machine to machine because each handles product slightly differently. My most recent project this summer required making some labels. A design I really liked had a decorative shape I found on https://www.mapleplanners.com/download/svg-label-templates.


I designed this project using a label template that now adorns my recycled containers & holds and protects my surplus sugar. The letters and design cut away like a stencil and reveal the base color. I am very pleased with the result, what do you think?

The negative space (letters) were used on the project below. The font perfectly matched my Tea Box. I can now display it on the vertical when desired and still identify what the container holds easily.

While working with the Dollar Tree products I became frustrated and shifted to some Jolee Vinyl to get my project done but then I wanted to revisit the PROBLEM of the vinyl cutting and dragging on the mat and messing up my design. What possible SOLUTIONS could be done. Below are some solutions that I found and will/ have tried out. 
First there is the Cricut FAQ'S.
The main difficulty there is they do not address other products and their best settings. A great takeaway from my research was to successfully cut the vinyl on the Cricut, you are going to want to create a custom setting. If you are doing a large shape, you might be able to get away with the vinyl setting but for anything even a little intricate they would suggest changing the pressure to 145.


This video addressed general problems with cutting words and had really great information.


All in all I had a good experience learning how to tackle the challenge of finding solutions to varieties of materials. 


WHEE Time Moments

 This morning as I was going about my morning routines I thought about my sweet friend MD and the cards she brought me. It has become a bit of a ritual  that my tribe of friends who love to make handmade cards often make multiples to share with each other.  Looking through this stack I a commented about my friends choices of design often including the playful, and often humorous designs. She noted that she enjoyed whimsy...I like that word and even though when I design my designs do not include whimsy I enjoy the people in my life that do and because of that bring whimsy to my life. It reminds us to allows for that play time we all need...moments of pure joy and bliss...Tickle Hill moments. (The crazy steep hill that we love to ride or drive fast downward on yelling WHEE!!) 


How To Make A U-Hinge Album and Fun Facts!

I adore papercraft projects. They bring back memories of my Nana. At Easter, Nana created handmade paper crafted Easter baskets for us with the most beautiful easter eggs. She instilled in me so much...one was a desire to create handmade items because of how her gifts of herself made me feel. 

FUN FACT: Today is National Egg Day, I didn't even know that was a thing, ha-ha!


Tricia, from Club Scrap shares great techniques for creating this sweet u-hinge embellished paper crafted photo album. She makes it look so simple to create this project using minimal supplies, organized methods and beautifully finished embellishments to really wow your recipient. She even shows in the beginning of the video, a simplified method to keep your project moving along by sorting your supplies early on.Thanks Tricia!

Everyday Celebrations and Meaningful Events

Today as I was beginning my day, refreshing my creativity and focusing on recreating my desired outcomes in life it led to a future event I really wanted to incorporate into my life more. It is referred to as SCREEN-FREE WEEK. Why on earth does one wish to unplug? There have been articles written about the concept of unplugging and why.This one written by a creative artist really struck a chord with me.  


So often I hear from my adult kids as well as so many others of key problems in our society that have come up with the use of so many of our amazing technological tools. Physical problems like eye & back strain, lessened physical activity,sleep problems and more affect us.There also come into play isolation and decreased physical connection,as well as cyberbullying. Sometimes we may find it so much easier to find a solution online rather than tackling a problem filtered through our own experiences but then I am reminded that some of life's greatest ideas and experiences come when I am fully immersed in life's ups, downs, delights and disappointments; whether it came in my kitchen experimenting with foods or in make believe play with my children. So what does all this dialog have to do with everyday
celebrations and meaningful events?
Quoting from screenfree.org, Screen-free Week is an opportunity to rediscover the joys of life beyond ad-supported screens. During the first week of May, thousands of families, schools, and communities around the world will put down their entertainment screens for seven days of fun, connection, and discovery.

Even though it’s about turning off screens, Screen-Free Week isn’t about going without – it’s about what you can get! An hour once dedicated to YouTube becomes an hour spent outside; ten minutes whiled away on social media turn into ten minutes spent doodling; a movie on a rainy afternoon is replaced by time spent reading, chatting, or playing pretend!

I loved this list of great ideas for celebrating SCREEN-FREE WEEK, such great ideas!

111 Things to do during Screen Free Week:

  1. Take a book outside
  2. Visit a local museum
  3. Go for an ice cream cone
  4. Offer to rake your neighbor’s lawn or mow the grass
  5. Go on a nature scavenger hunt
  6. Take a walk around the neighborhood
  7. Bake cookies and gift them to a teacher or librarian
  8. Have a picnic
  9. Play a game of Frisbee baseball
  10. Pull out the board games
  11. Try finger knitting
  12. Go fly a kite
  13. Volunteer to walk dogs with the local animal shelter
  14. Find a new recipe, go grocery shopping, and make that new recipe
  15. Have a game of cards
  16. Use sidewalk chalk to write happy messages around the block
  17. Have a backyard camp out
  18. Blow bubbles
  19. Go for a scenic drive and sing show tunes together in the car
  20. Do a little gardening
  21. Pick up litter around the community
  22. Visit the local library
  23. Join a drop-in exercise class
  24. Turn the radio on
  25. Have a game of charades
  26. Wake up early and make waffles for breakfast
  27. Invite the Grandparents over for tea
  28. Hand make thank you cards
  29. Take a walk around the neighborhood and enjoy all the flowers
  30. Go to the pool or beach for a swim
  31. Try hula-hooping
  32. Bring a basketball to the local courts and shoot a few hoops
  33. Read bedtime stories cuddled up on the porch
  34. Make smoothies
  35. Attend a local concert
  36. Go bird watching
  37. Pull out the dress-up clothes and do a photo-shoot
  38. Play follow-the leader
  39. Make an obstacle course in the backyard
  40. Go for a bike ride
  41. Visit the zoo
  42. Organize your junk drawer
  43. Have a bubble bath
  44. Wash the dog
  45. Pick a bouquet of wild flowers
  46. Visit a farmer’s market
  47. Go for a coffee or treat and have a family conversation
  48. Pull out the coloring books and crayons
  49. Quiz each other with trivia questions from a game or book
  50. Do a puzzle
  51. Take a hike
  52. Wash the car
  53. De-clutter the garage
  54. Wash the windows
  55. Go through your closets and donate un-wanted clothing
  56. Brows a local bookstore or comic shop
  57. Make bread or cinnamon buns
  58. Get a haircut
  59. Make some fresh lemonade
  60. Go play at the playground
  61. Hang out at the beach
  62. Go frog hunting
  63. Stay up late for stargazing
  64. Paint your toenails
  65. Climb a tree
  66. Get up early and watch the sunrise
  67. Plan a camping trip
  68. Stop into your local information center and find new places to visit
  69. Read the newspaper at dinner
  70. Write a letter to a cousin
  71. Do origami
  72. Go for a bug hunt
  73. Pull out the paints and paint a picture or some rocks for the garden
  74. Press leaves or flowers
  75. Make bookmarks as gifts to friends
  76. Learn how to do fancy braided hair
  77. Make friendship bracelets
  78. Play with clay or playdough
  79. Make slime
  80. Listen to old records or CDs
  81. Organize your shoe closet
  82. Have a dance party or learn how to line dance
  83. Play twister
  84. Have a game of soccer or football
  85. Do a crossword puzzle
  86. Learn to use a compass and follow a map
  87. Go to the theater
  88. Make or play musical instruments
  89. Hide a treasure and make a map for your friends to follow
  90. Rent a paddle boat or canoe
  91. Put on a shadow puppet play
  92. Try horseback riding or feed the cows at a local farm
  93. Bring your bottles in for recycling
  94. Try roller-skating or ice skating
  95. Learn how to change a car tire or fill and check the air pressure
  96. Air out your home and change the linens
  97. Have a pillow fight
  98. Play dominoes
  99. Do yoga or stretching
  100. Make sock puppets from old socks
  101. Make popsicles and eat them outside
  102. Have a Lego competition
  103. Pull the weeds from your garden
  104. Give or go for a massage
  105. Take a nap
  106. Play hide and seek or tag
  107. Make a bird house or birdfeeder
  108. Use leaves to make collages and cards
  109. Gift a meaningful book to a friend
  110. Visit a local farm or botanical garden
  111. Get close and give your time to your loved ones

I decided to create a list of screen free activities  that included not just fun things to do but also things that have shifted to screen time that could be even more powerfully done without my screen... Like actually calling on client or making a phone call instead of those social media quicky posts. So much of what we do in business has led to leaving our clients feeling disconnected...a call or visit helps to reconnect.

You can celebrate Screen-Free Week at home, in your school, in your community, or anywhere – just put down those entertainment screens and do literally anything else! Let's spend less time in the digital world and more time in the real world. You might be surprised at what you find. Plan a day, a few hours, or the whole week; however you participate is great!

Do you wonder what other everyday events are being celebrated? Take a look at this website's calendar, there's always a way and a day to celebrate!

NEW IDEAS...Hm-mmm

NEW IDEAS are being shared as the art & craft industry
leaders are in the midst of an amazing informative fun show for the industry, Creativation. 
I love watching the early peeks at these new and innovative ideas via Youtube. Because they represent both the art and craft world you will see fine art tools and the latest and greatest crafters tools
If you enjoy sneak peeks into these new products take a look at this video...warning it is an hour of footage sharing more on the fine art products.
Below was a bit of footage from Ranger last year, always bringing fun products out that we just *must* have.
 
My interest in the arts and my desire to create has followed a very long history of new to me and exciting innovative ideas. Todays post though is somewhat about innovative products but more about some really fun "solves" to a question..."How can I?" Back in the day when Cricut and others introduced their electronic craft cutters it brought out so many fun possibilities for us makers. Tools like the Sizzix Big Shot had to re-invent themselves to stay abreast of this fast moving creative surge....so many wonderful ideas were on the scene. The light box and brass plates that had been used to emboss designs suddenly were being replaced by embossing folders for the Big Shot. Thin dies also emerged, the days of huge dedicated cabinets to house the thick dies now gone! On a side hote I love those dies and still treasure their ability to cut multiple cutouts at once :)For folks still loving their old brass plate for tracing, brass plate embossing etc. even the light box was reinvented...the Bright Pad emerged on the scene. USB powered, thin and super light weight AND easier to store...super nice! Personal electronic cutters rocked the scrapbooker world in the early 2000's and continue their evolution. Check out this older but fun article about it. Historically they are a bit behind but still it is interesting! I started my electronic cutter with this product. Today I use two models; one model, the Explore Air 2 is not the newest offering but still can do so-ooo much and I also recently purchased a Cricut Joy for its portability. Earlier I mentioned that today's blog post was really more about some really fun "solves" to a question..."How can I?" 

Ah-hhh you say, FINALLY! Yes I really did want to share some of these solutions, so on we go but before I do let me share a favorite quote. 

What has been will be again, what has been done will be done again; there is nothing new under the sun. Ecclesiastes 1:9

I bring this up because this is what I observe... so many wonderful ideas are not necessarily NEW but they are nonetheless very helpful, creative, fun and there YUP are NEW ways to  use these ideas!

So here we go...on with these old new ideas!


When I first developed an interest in stamping but before I had purchased many stamps I signed up for a herb card swap. Now how on earth did I manage if I didn't have any herbs in my stamp set, you may ask? My solution: I took a craft foam sheet, heated it with my embossing gun then pressed it into a mint leaf from my garden. Here is a sample of the card I created. I still love how this card turned out and the only stamp on it is my hand made mint stamp and the butterfly corners printed the words on my computer.

A couple years ago Simon  Hurley along with Ranger introduced a product called  Stamping Foam. (Actually a reintroduced product from the 1990's but I'm not telling :) Simon is demonstrating some fun ways to use it in this video. Look at how this is being used today! I still have my original foam blocks and still use them. Being thicker it is much easier to work with than the thin foam craft sheet I used to make the card above.

Remember those brass plates used for dry embossing? They took a bit of effort but they produced a lovely embossed area. 
For many of us that have the Big Shot, Cuttlebug and other similar tools for crafting we can use those brass plates along with some cushion like gasket material from our local hardware store to produce some lovely and fast embossed results. It takes some experimenting with the "sandwich" to send the layer through smoothly but I had good results following along with this video. 
Gina K also shared a similar technique but using flexible vinyl stencils. The results were equally effective and so-oo expands the possibilities with my craft collection.

I tend to hang on to my craft supplies, maybe you do too. I loved working with pastel chalks, foils and pigment inks to name just a few of my older supplies...now I just need to finf NEW ways to use them. I so enjoyed this blast from the past and hope you'll all grab some of you craft stash and see what old NEW things you can create. 


MY ONE WORD for 2023


ONE WORD CHALLENGE 
for 2023

Years I ago I made a decision to stop making New Year's resolutions and started picking One Word for the upcoming year. No resolutions... just One Word that gives meaning, mission, passion and purpose. One Word that will help me be my best. Each year I've found this word to resonate so strongly with what I was really needing to LIVE in my life. In my last post I mentioned a bit about plans for New Year's Eve and as plans can...they often go awry. Ours did but but we flipped it around and spent our night in. My sweetheart surprised me with a cute idea. We enjoyed a game of Scrabble together  as we enjoyed the evening together. As we rang in the New Year and crawled off to bed I reflected on what my word for the New Year would impact in this upcoming year. 


Looking towards this shiny New Year I think of this tradition I began for our household. Funny how a change of plans this year has us sitting in front of the fire reflecting on words...HaHa! Very appropriate I think.  The Power Of Words! 

As I noted in my previous post,  cultures around the world and through history have commemorated the ending of one year in many ways with often the decision to  "resolve to accomplish their listed goals. Historically as many as 45 percent of Americans say they usually make New Year’s resolutions, only 8 percent are successful in achieving those goals. 
That is where the concept of a single word really made an impact and the choice to look towards a bigger picture came to mind. Check out the link at the beginning of my post. I'd love to hear your thoughts and let me know if you decide to be a part of the ONE WORD CHALLENGE for 2023.
Beginning this New Year I choose to focus my thoughts on one word...COMMITTED...I believe it can make a new me as the year progresses. Perhaps you'll choose to join me. This year could mean for you A NEW YOU too. 


New Year - New Me in 2023


Plans for New Year's Eve are under way and our reservation for dinner has been set. We're heading to a new to us restaurant, Kimi's Chop and Oyster House, and we're really looking forward to sharing the New Year with some of our loved ones and partners in business. 
Looking towards this shiny New Year I think of a tradition I began for our household after hearing Kevin Hall speak on The Power Of Words at a business conference we attended years ago. It spoke to my spirit. Since then as the New Year approaches I have been selecting a single word to focus on in the New Year. I see it referred to by others as ONE WORD.

Stephen Covey wrote as part of his forward for author Kevin Hall' in his book, ASPIRE : "There is a language of success and a language of distress. There is a language of progress and a language of regress... Words lead, and words impede... 

What a powerful description...Perhaps the focus of our word/s can make A NEW YOU?!

Cultures around the world and through history have commemorated the ending of one year and the beginning of another. Being inspired by Kevin to focus on ONE WORD has been such a meaningful year long activity. Far different than the experience of myself and many others who make lists of resolutions. Historically as many as 45 percent of Americans say they usually make New Year’s resolutions, only 8 percent are successful in achieving their goals. 
Beginning this New Year I choose to focus my thoughts on one word... I believe it can make a new me as the year progresses. Perhaps you'll choose to join me. This year could mean for you A NEW YOU too.

Home After Christmas

I am getting back to daily life after our typically well traveled Christmas. For us it means all the weeks leading up to Christmas we try to squeeze as much work, friend time, local family events and spiritual balance into them as possible so that we can spend time our sons if they are available...they live out of town so we are the travelers. 


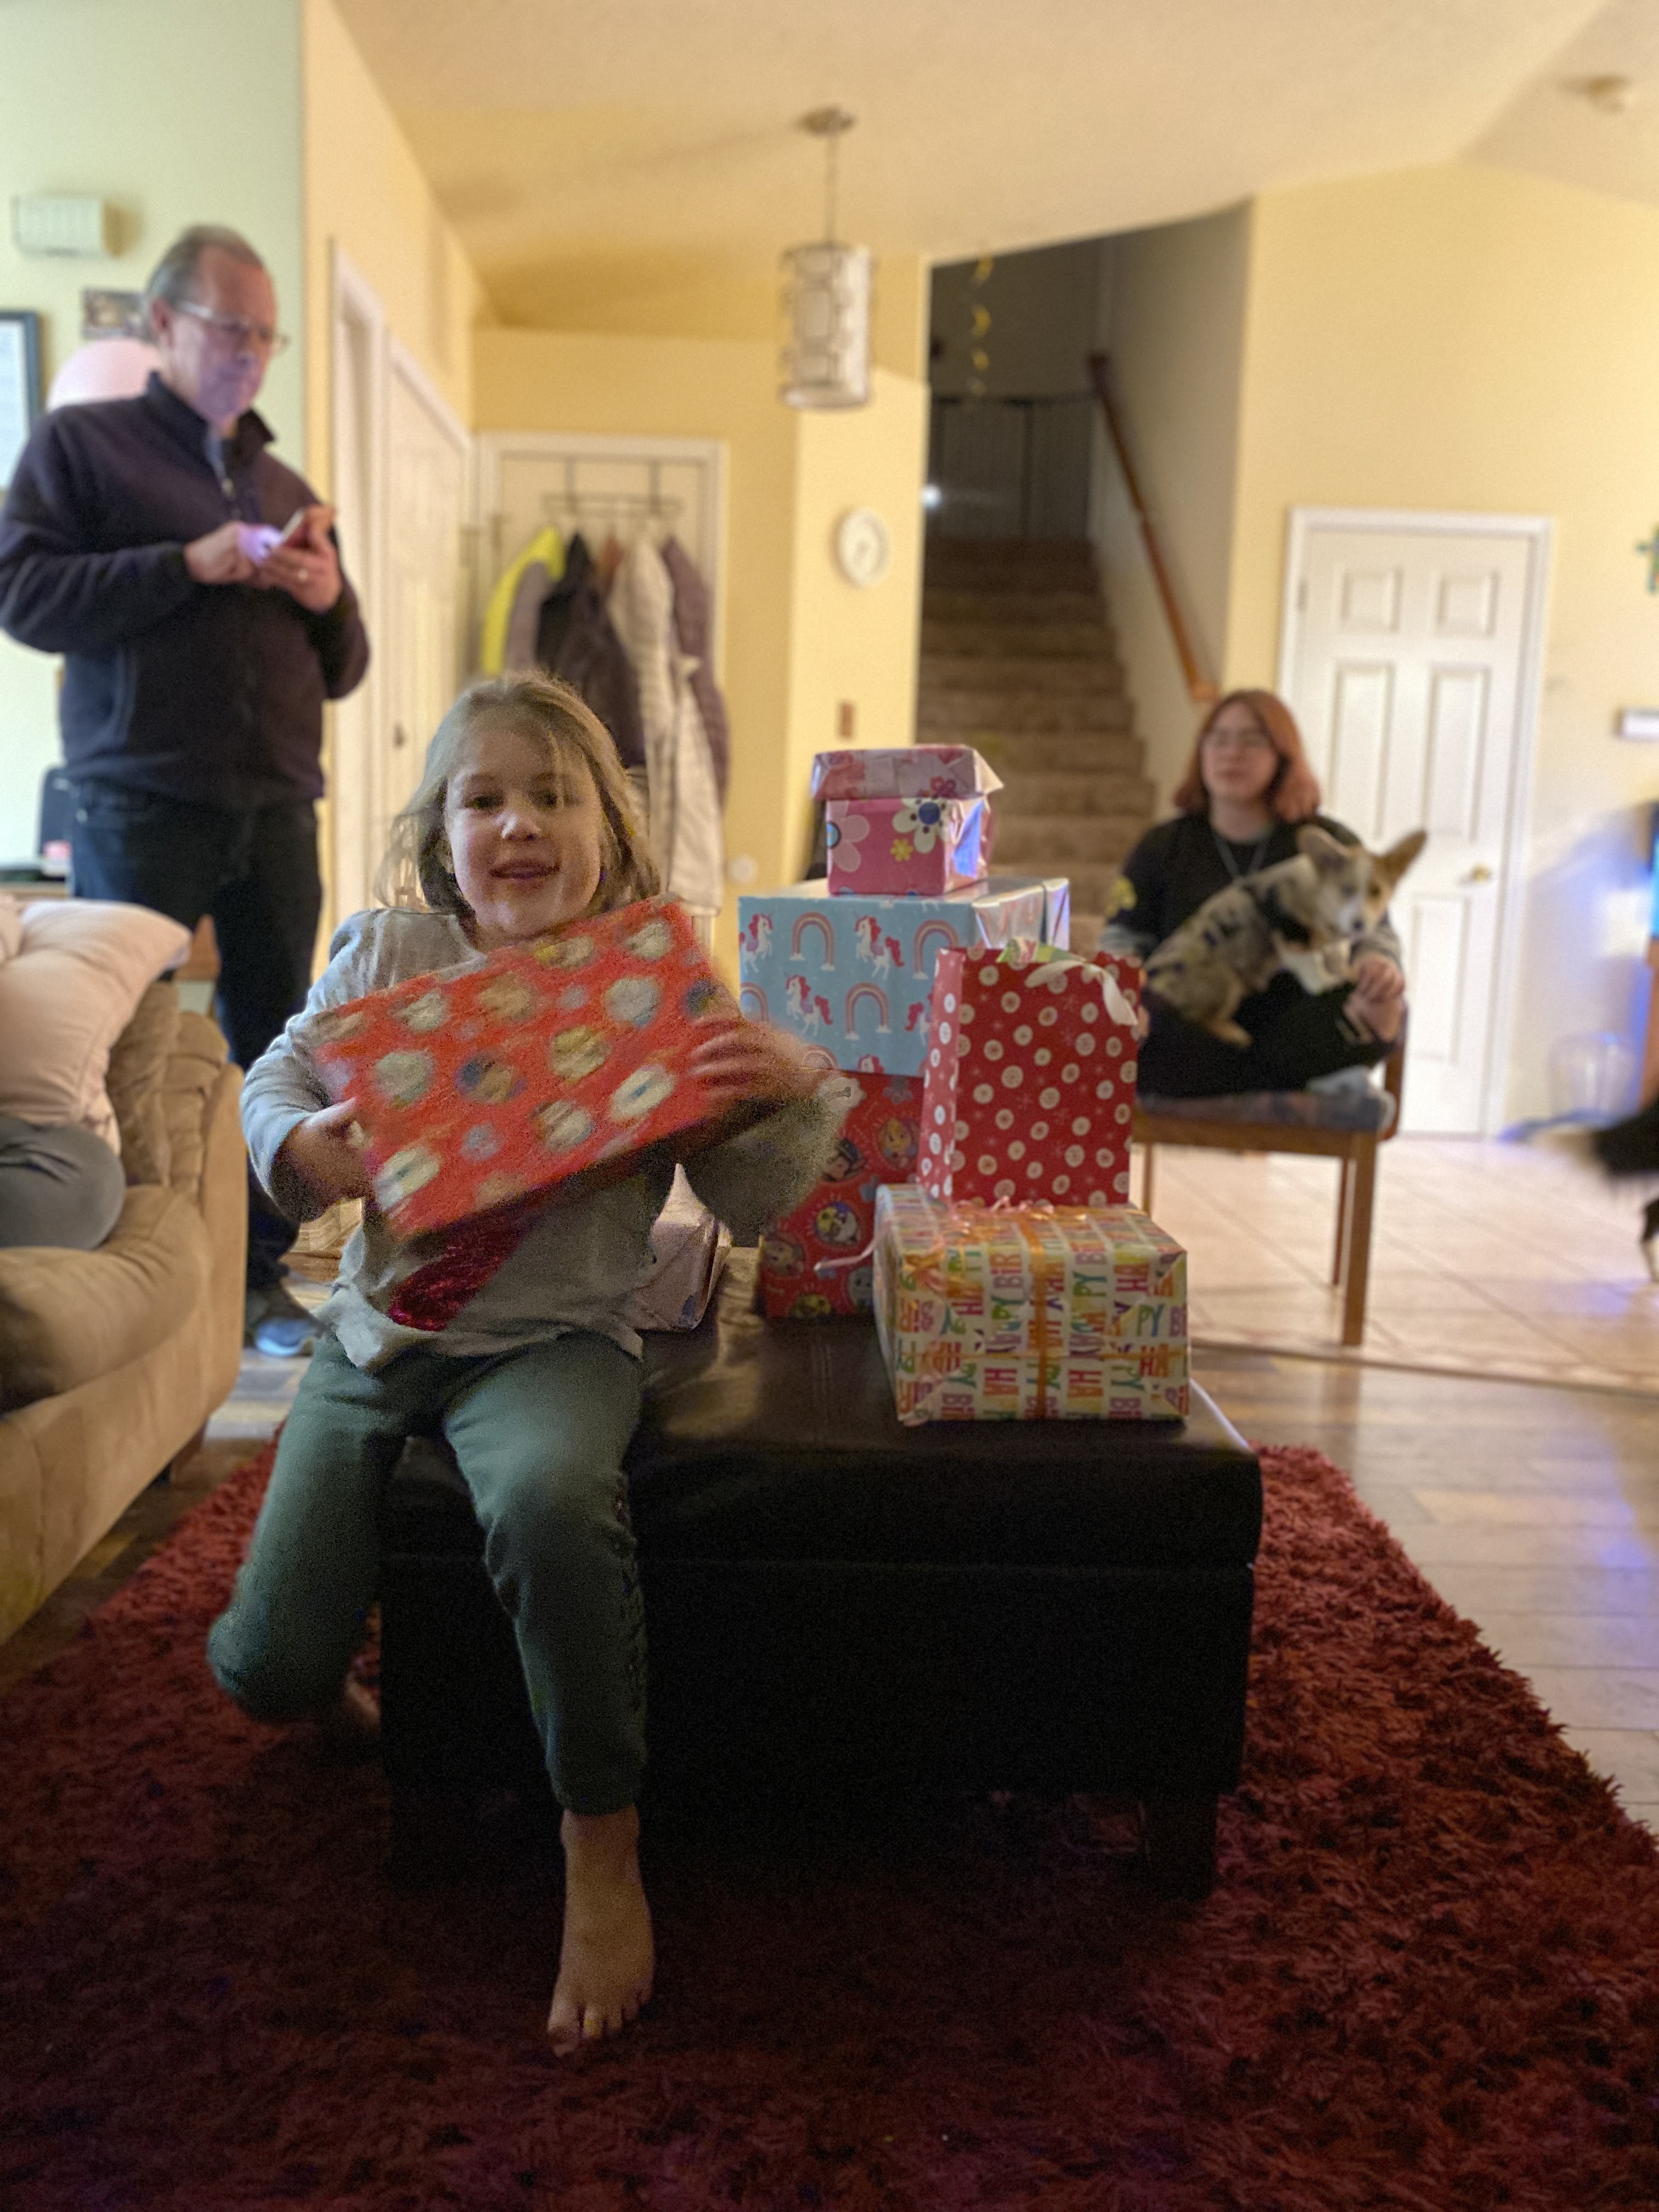
We spent the week with our younger son and family arriving in time for the youngest granddaughters 5th birthday. The kiddos grow up so fast-we're so glad we are able to spend moments where we can.
The party was themed around teddy bears this birthday with lots of fun balloons, gifts and Lauren made yummy cupcakes too! 
Teddy Bear Balloons
Presents piled high!
 
Waiting to open presents

I pick this one first.

Making cupcakes :)

Here are a few of our shared moments...


The balloons lasted all the way through Christmas!
Part of the time the family shared the sickie bug...what a thing to share! 

So far Tom & I have avoided it, we'll see.